CloudFormation (Automated)
Step 1 - Deploy CloudFormation Template
- Right click the Launch CloudFormation Stack button below and open the link in a new tab.

- Navigate to the new tab you just opened. You should see a screen similar to the one below
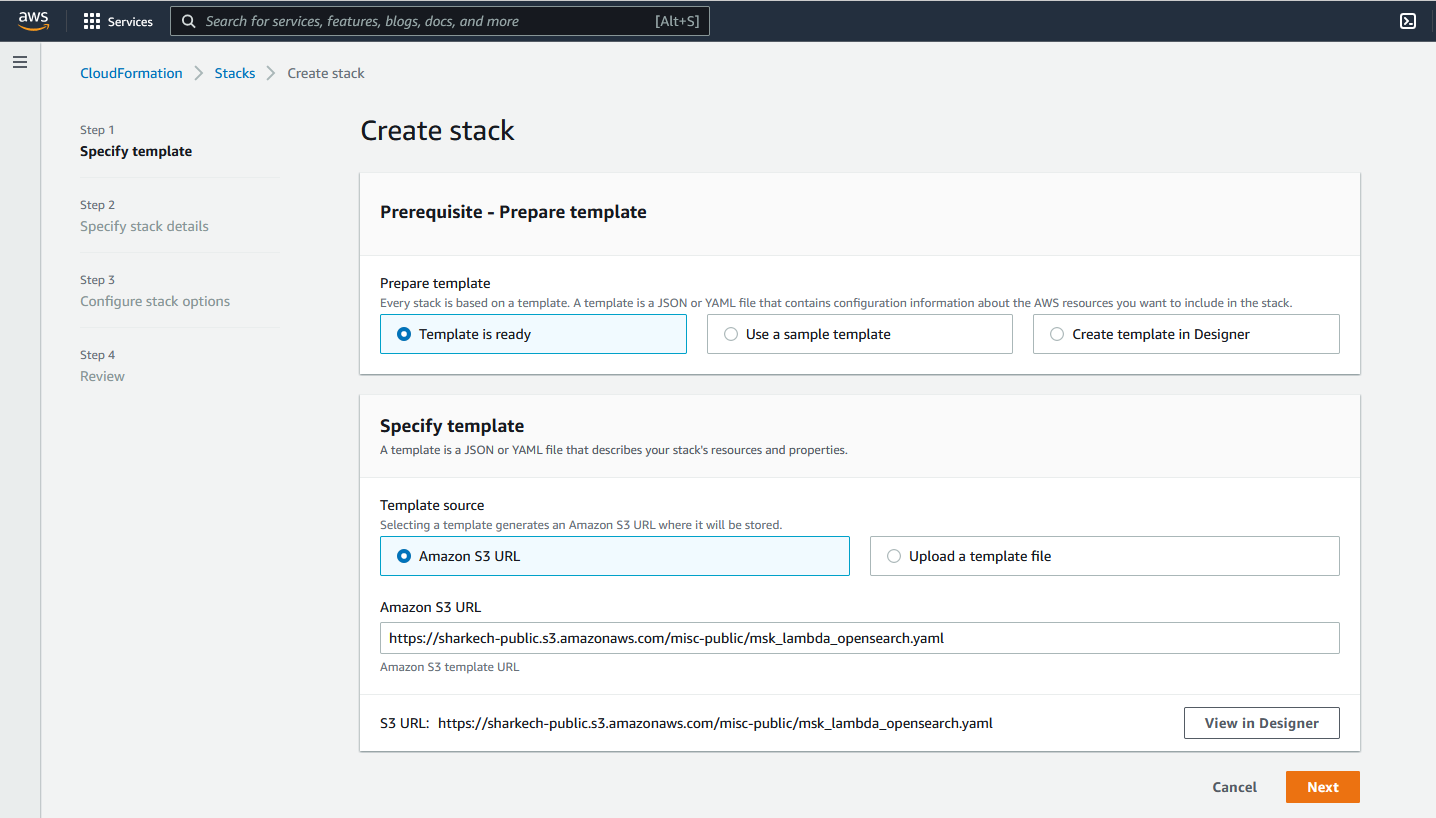
- Click on the Next button
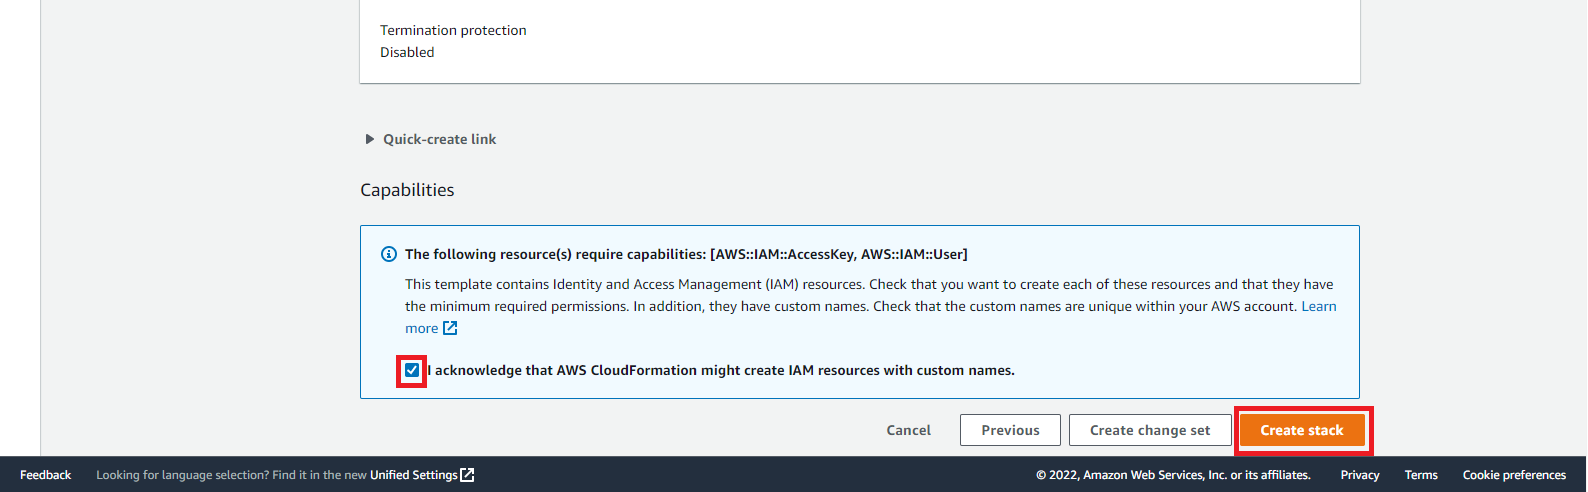
- Continue to click on the Next buttons until you arrive at the final review screen. Scroll to the bottom of this page
- At the bottom of the page click on I acknowledge that AWS CloudFormation might create IAM resources with custom names
- Click on Create stack
This will begin the process of deploying the required resources. You will automatically be redirected to the following screen
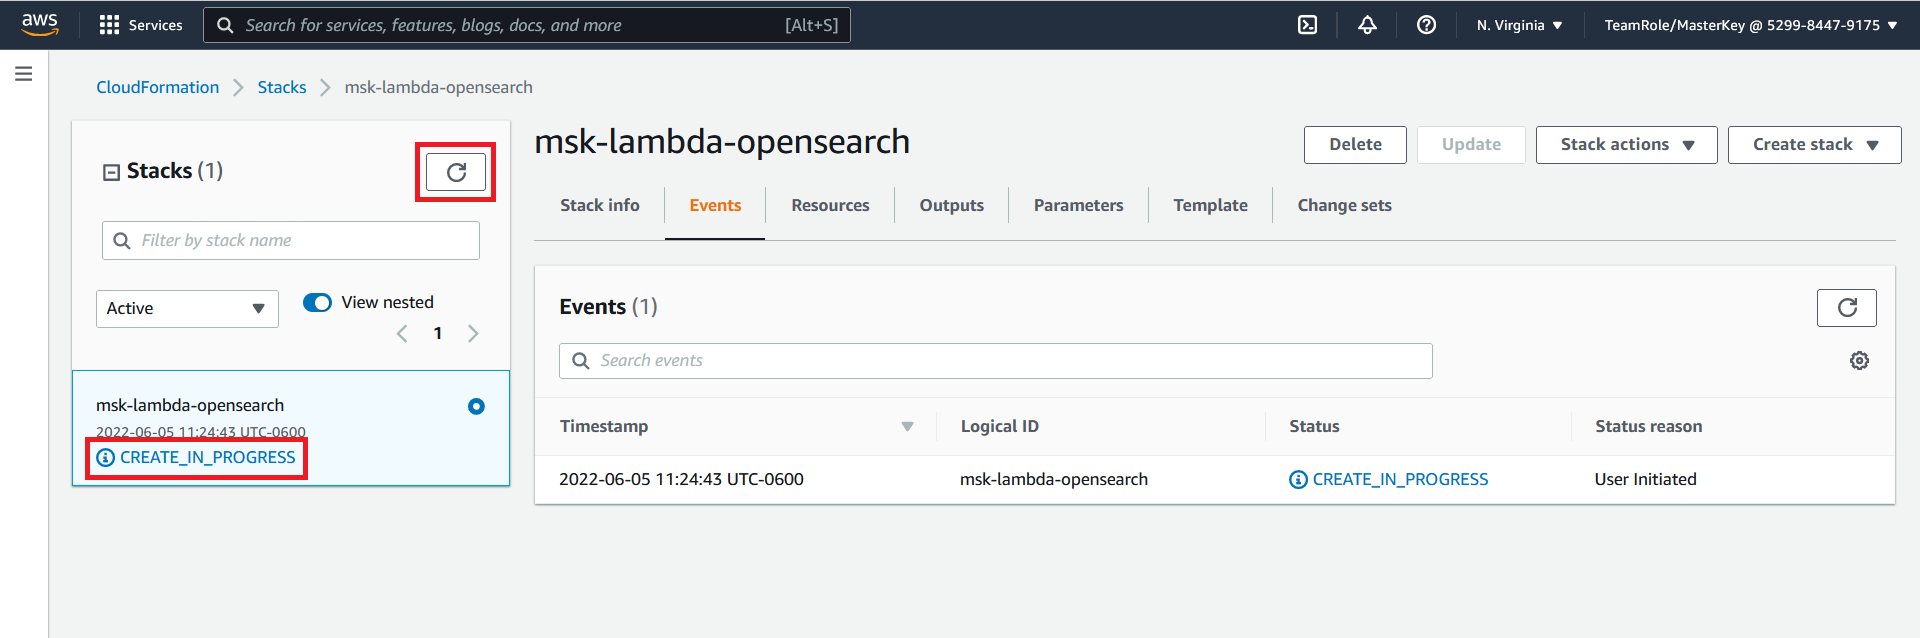
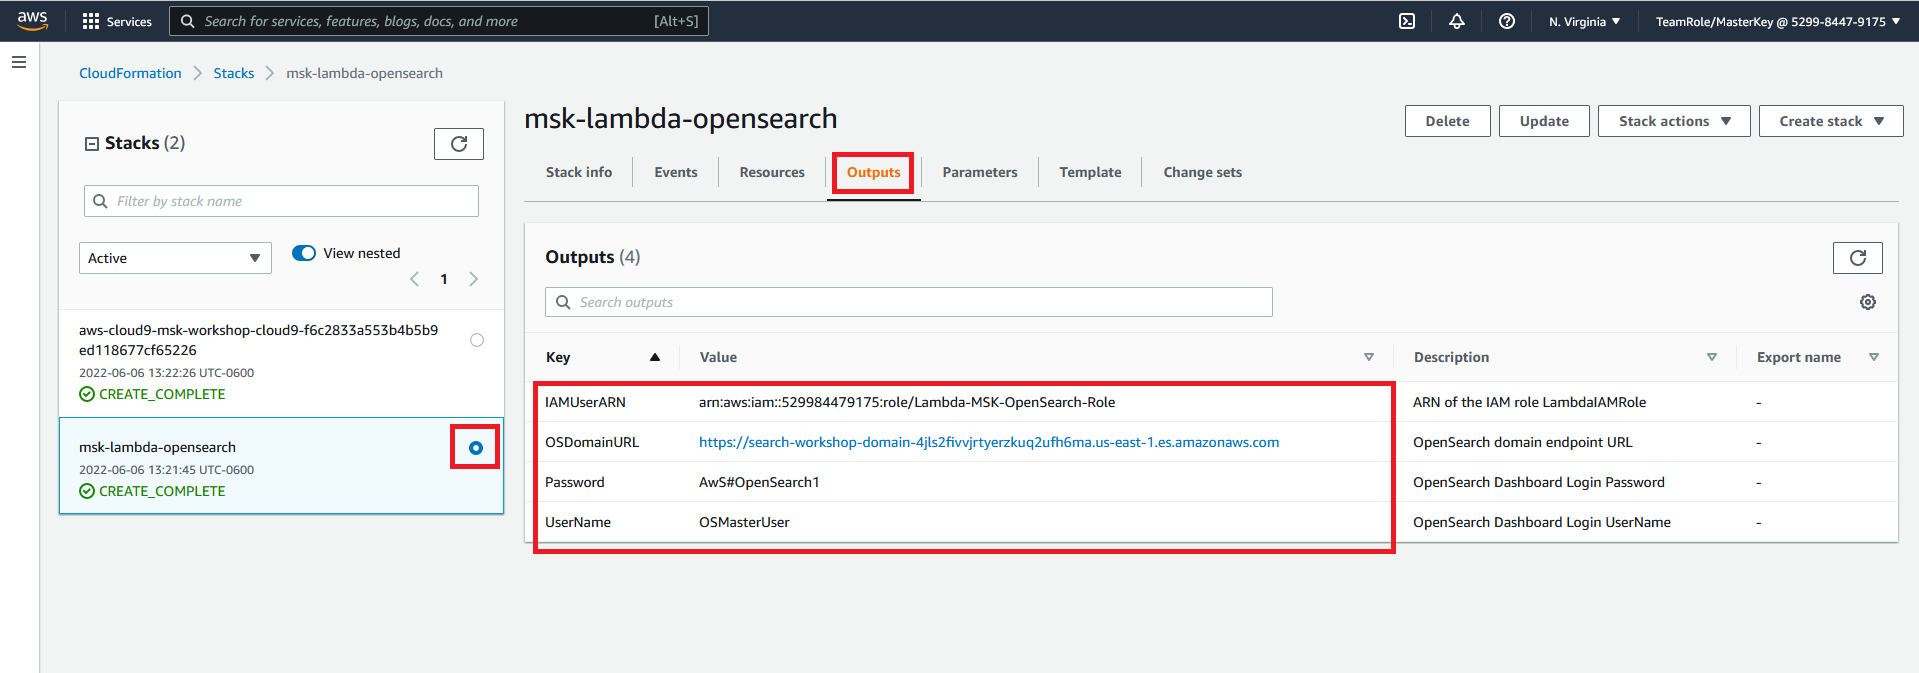
The deployment will take 5 - 10 minutes to complete. You can click on the refresh button and view the status of the deployment. The initial status will be CREATE_IN_PROGRESS when the status is CREATE_COMPLETE. Click on the Outputs section of the CloudFormation stack and copy the values of the output. The output values will be used in subsequent parts of this workshop.
Step 2 - Update MSK Network Security Group
Cloud9 and MSK from a network point of view, must be able to communicate with each other. To achieve this you must update the network security group for MSK to accept incoming traffic from the Cloud9 security group.
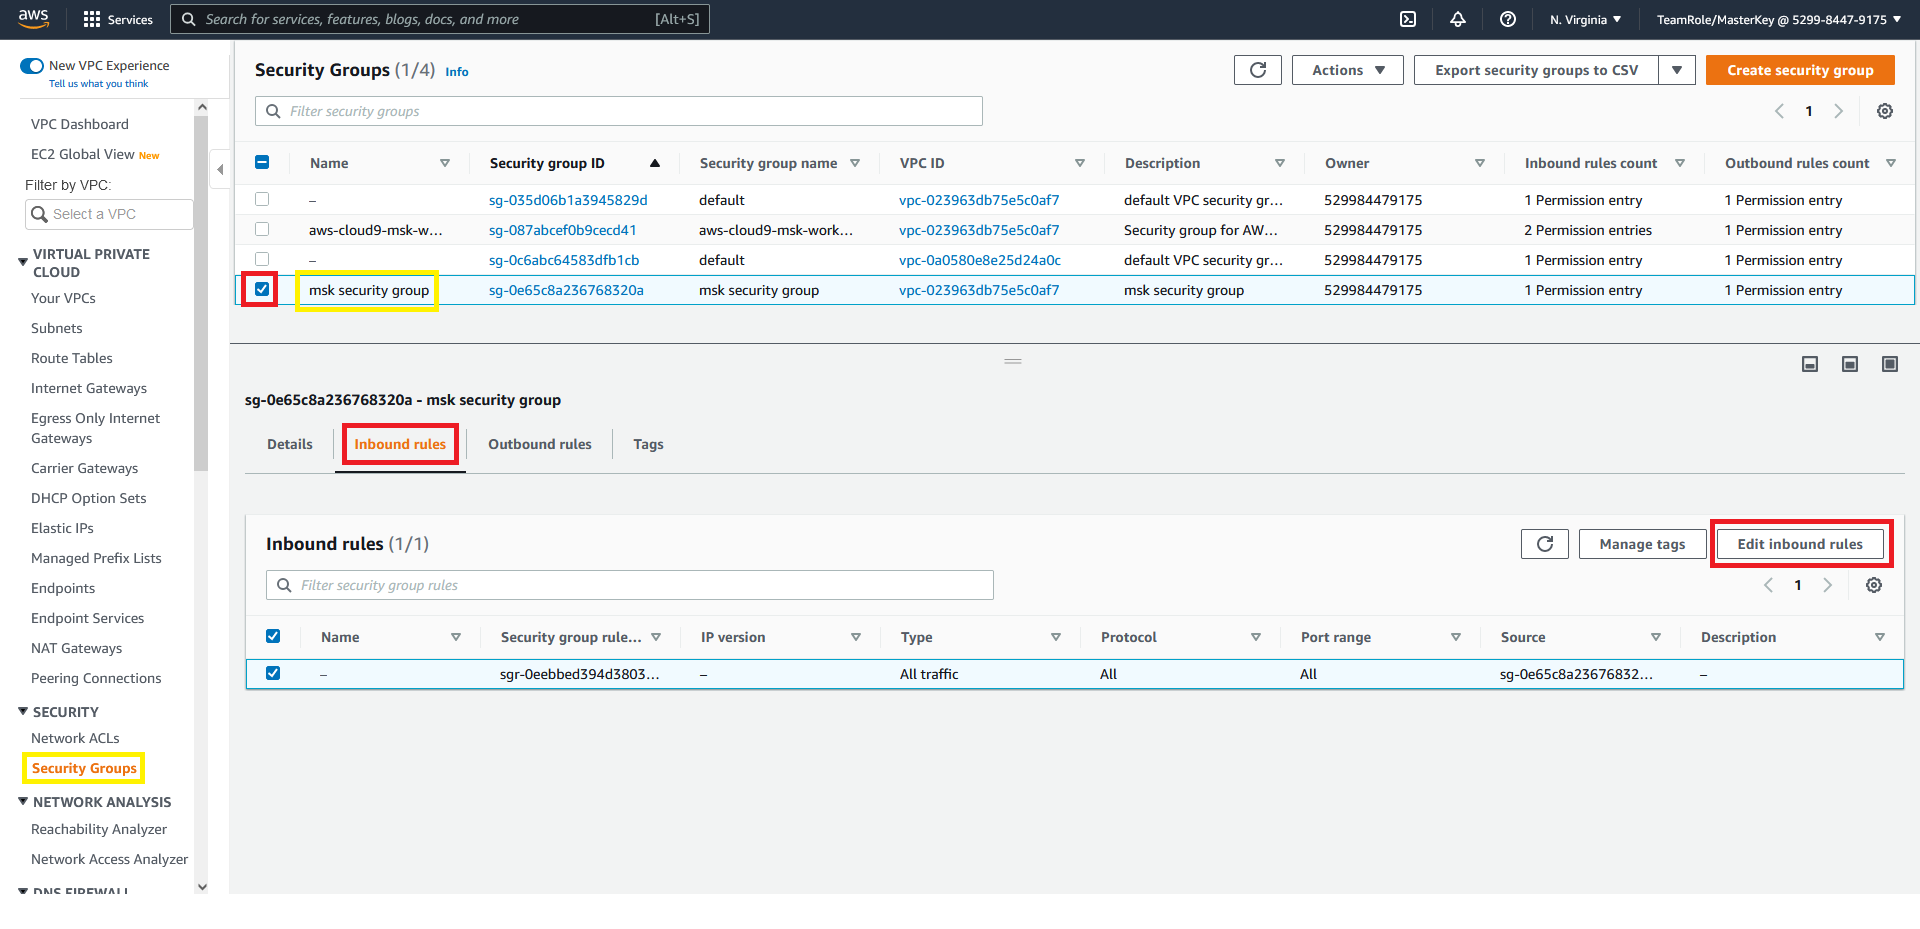
- Navigate to the Security Group page in the AWS console
- Select the security group with the name msk security group
- Click on the Inbound rules tab
- Click on Edit inbound rules
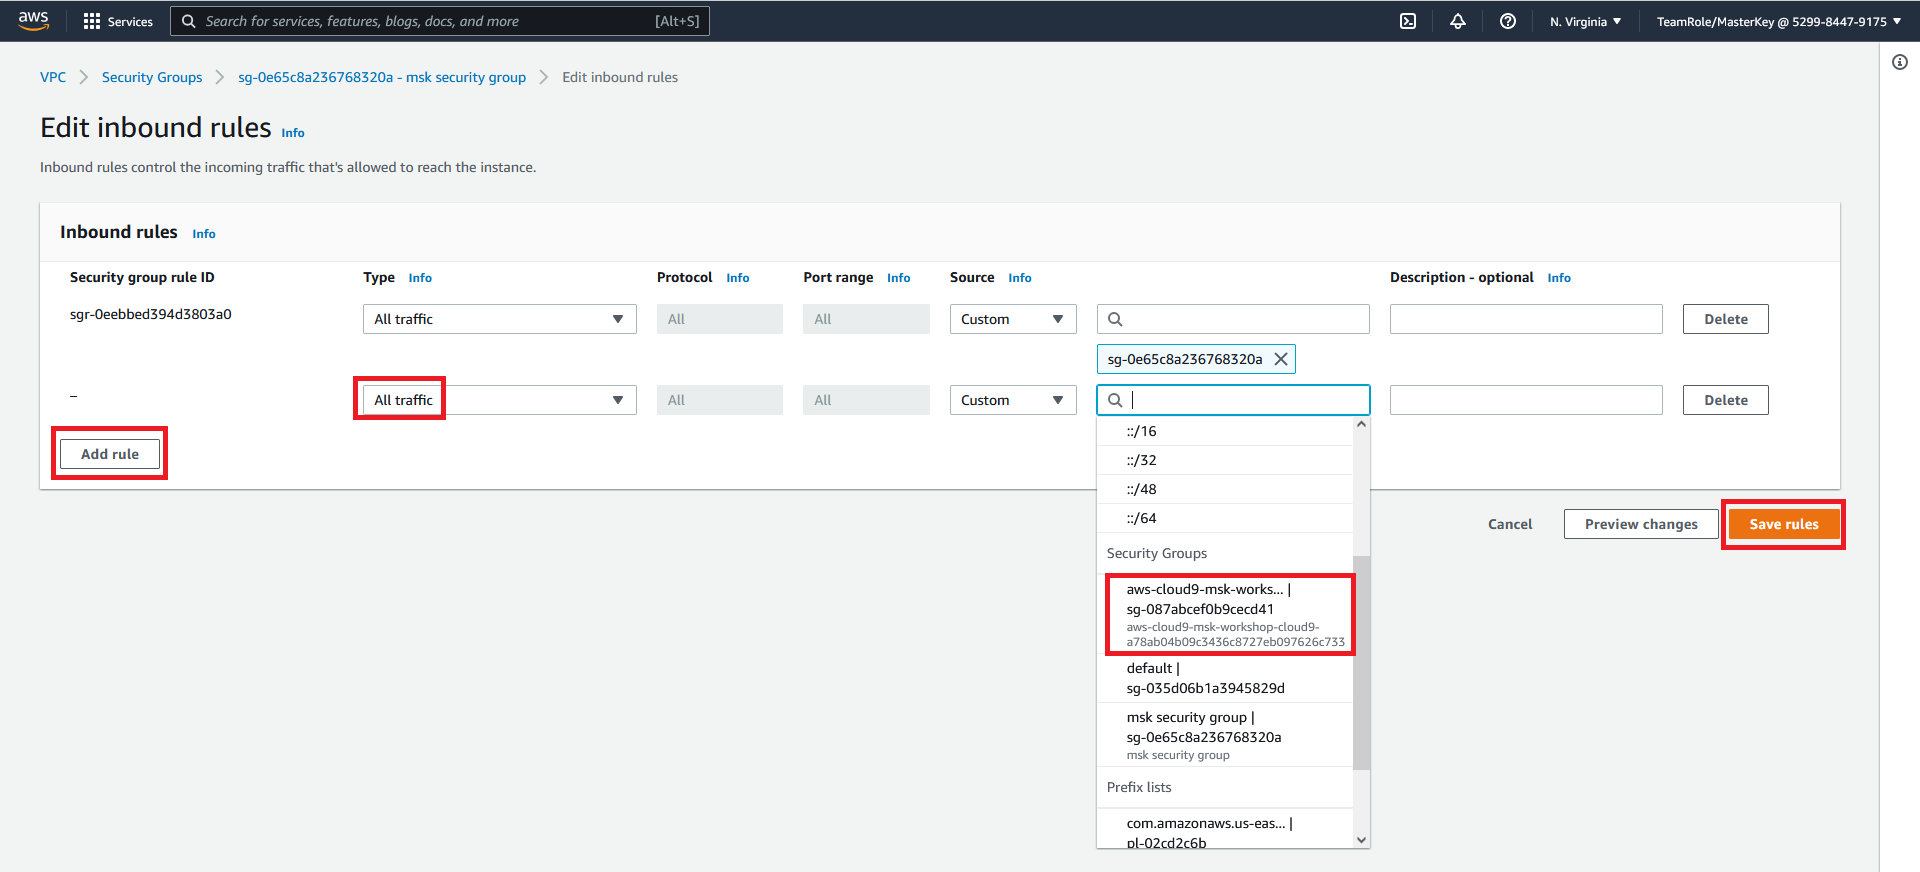
You will be redirected to the edit inbound rules page
- Click on Add rule
- Select All traffic from the type drop down
- Select the security group that starts with aws-cloud9-msk-works as the source
- Click on Save rules
The msk security group will now accept inbound network traffic originating from the cloud-9 security group
Step 3 - Create Kafka Topic
We need to create a topic in Kafka that we can later send log data to.
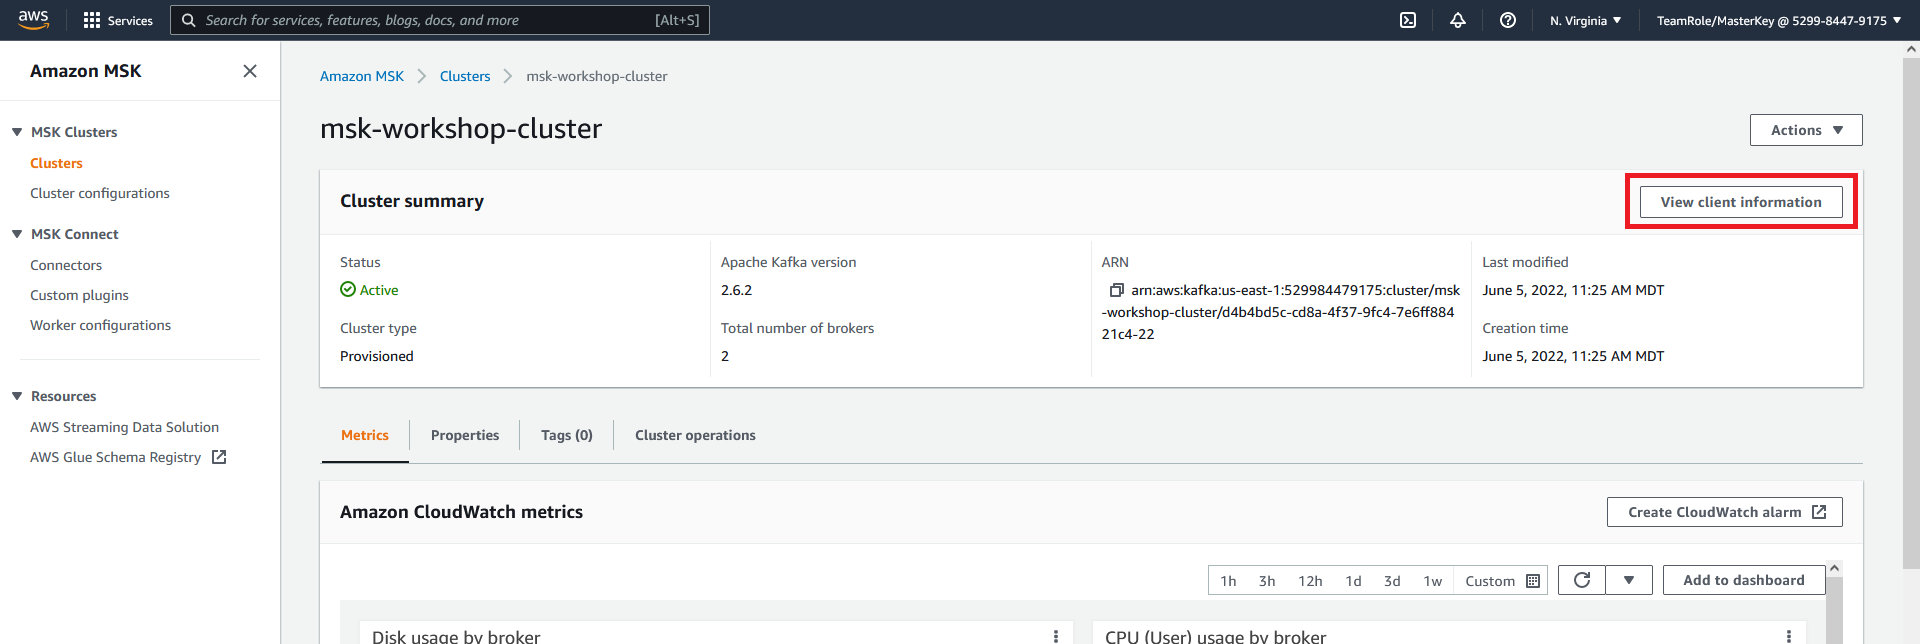
- Navigate to the MSK page in the AWS console
- Select the msk-workshop-cluster

- Click on View client information
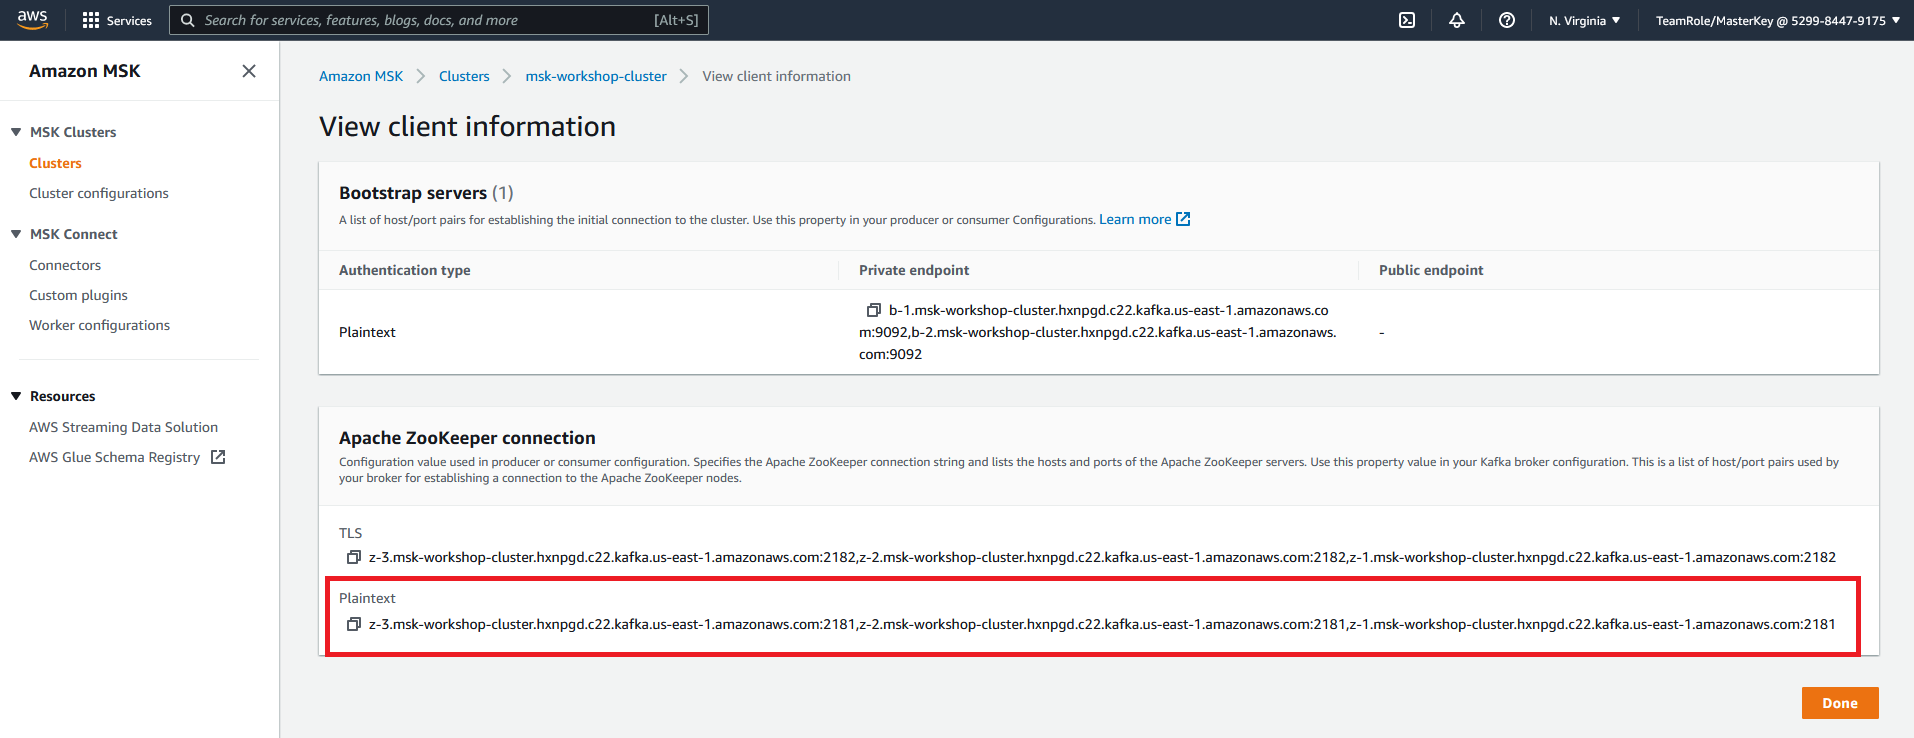
- Copy the plaintext Apache ZooKeeper connection information
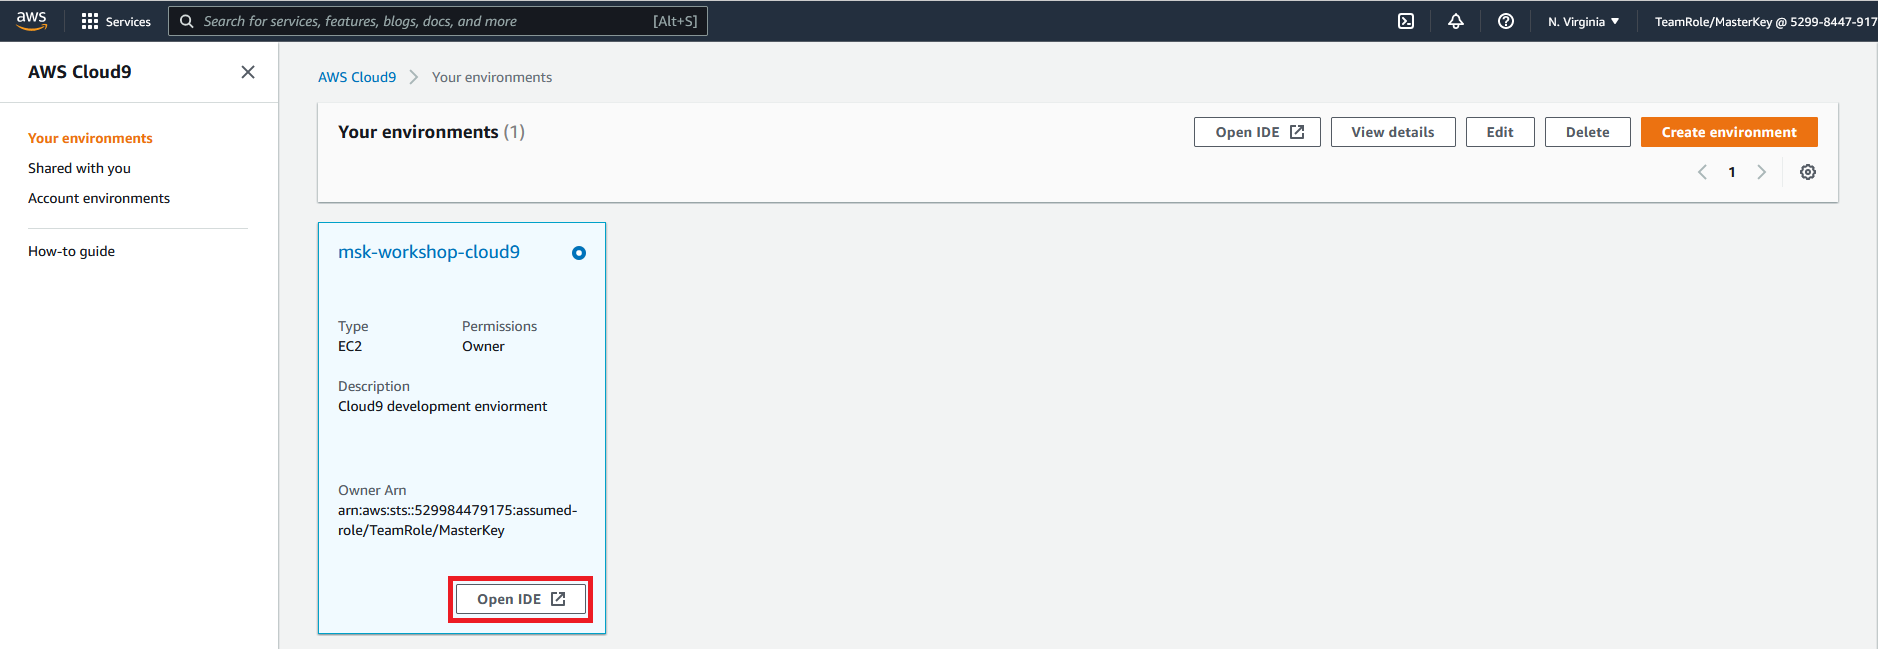
- Navigate to the Cloud9 console
- Click on Open IDE
- In the Cloud9 environment navigate and open
Kafka_OpenSearch_Anomaly_Detection/Kafka/1_create_topic.py
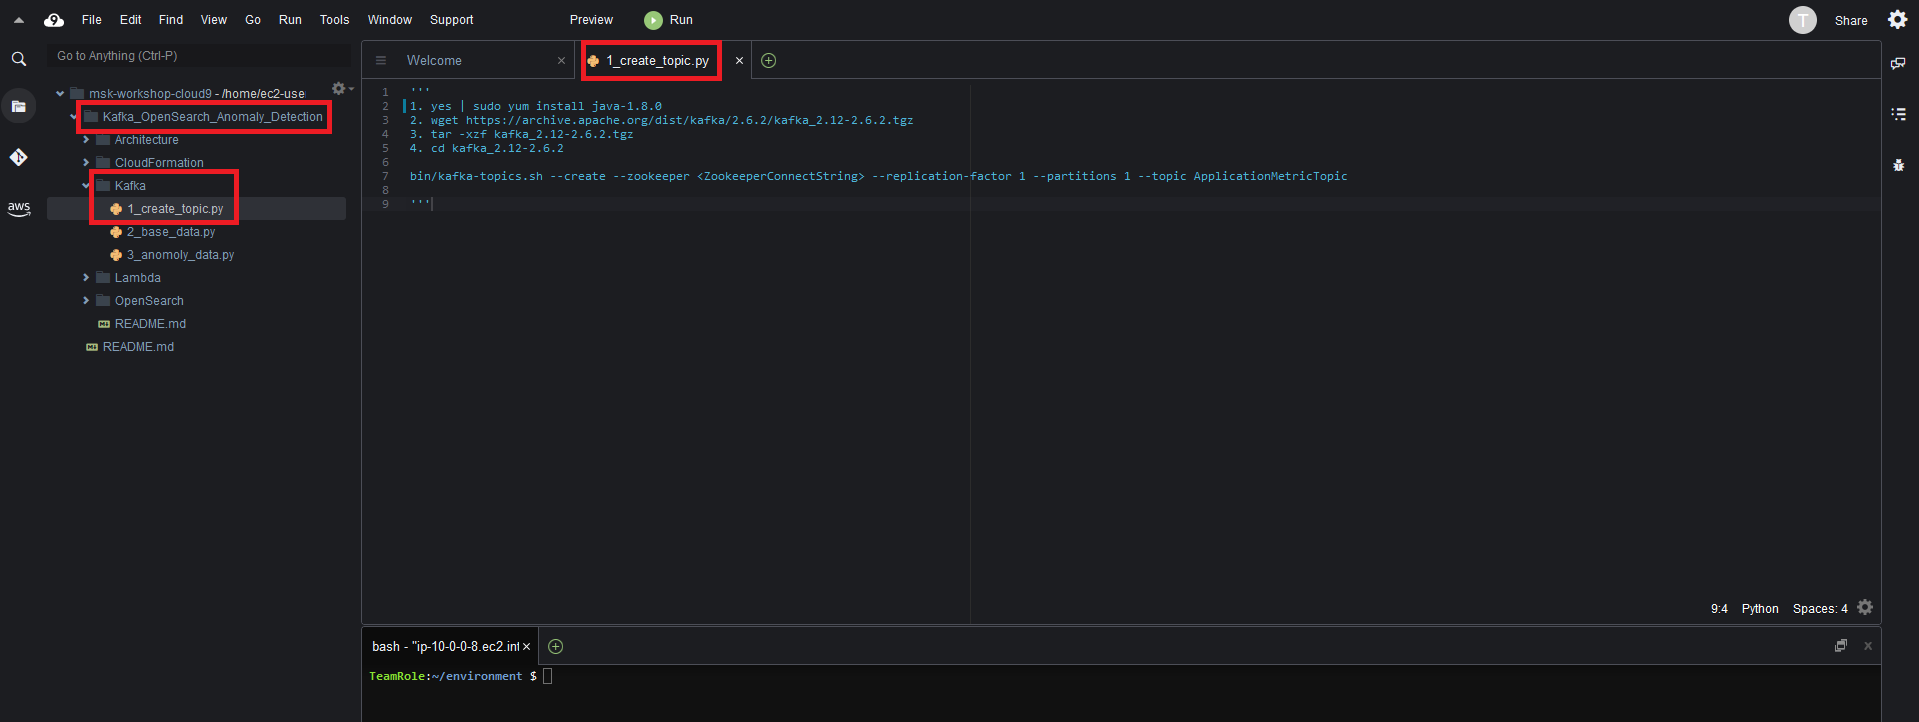
- Run
yes | sudo yum install java-1.8.0in the Cloud9 terminal - Run
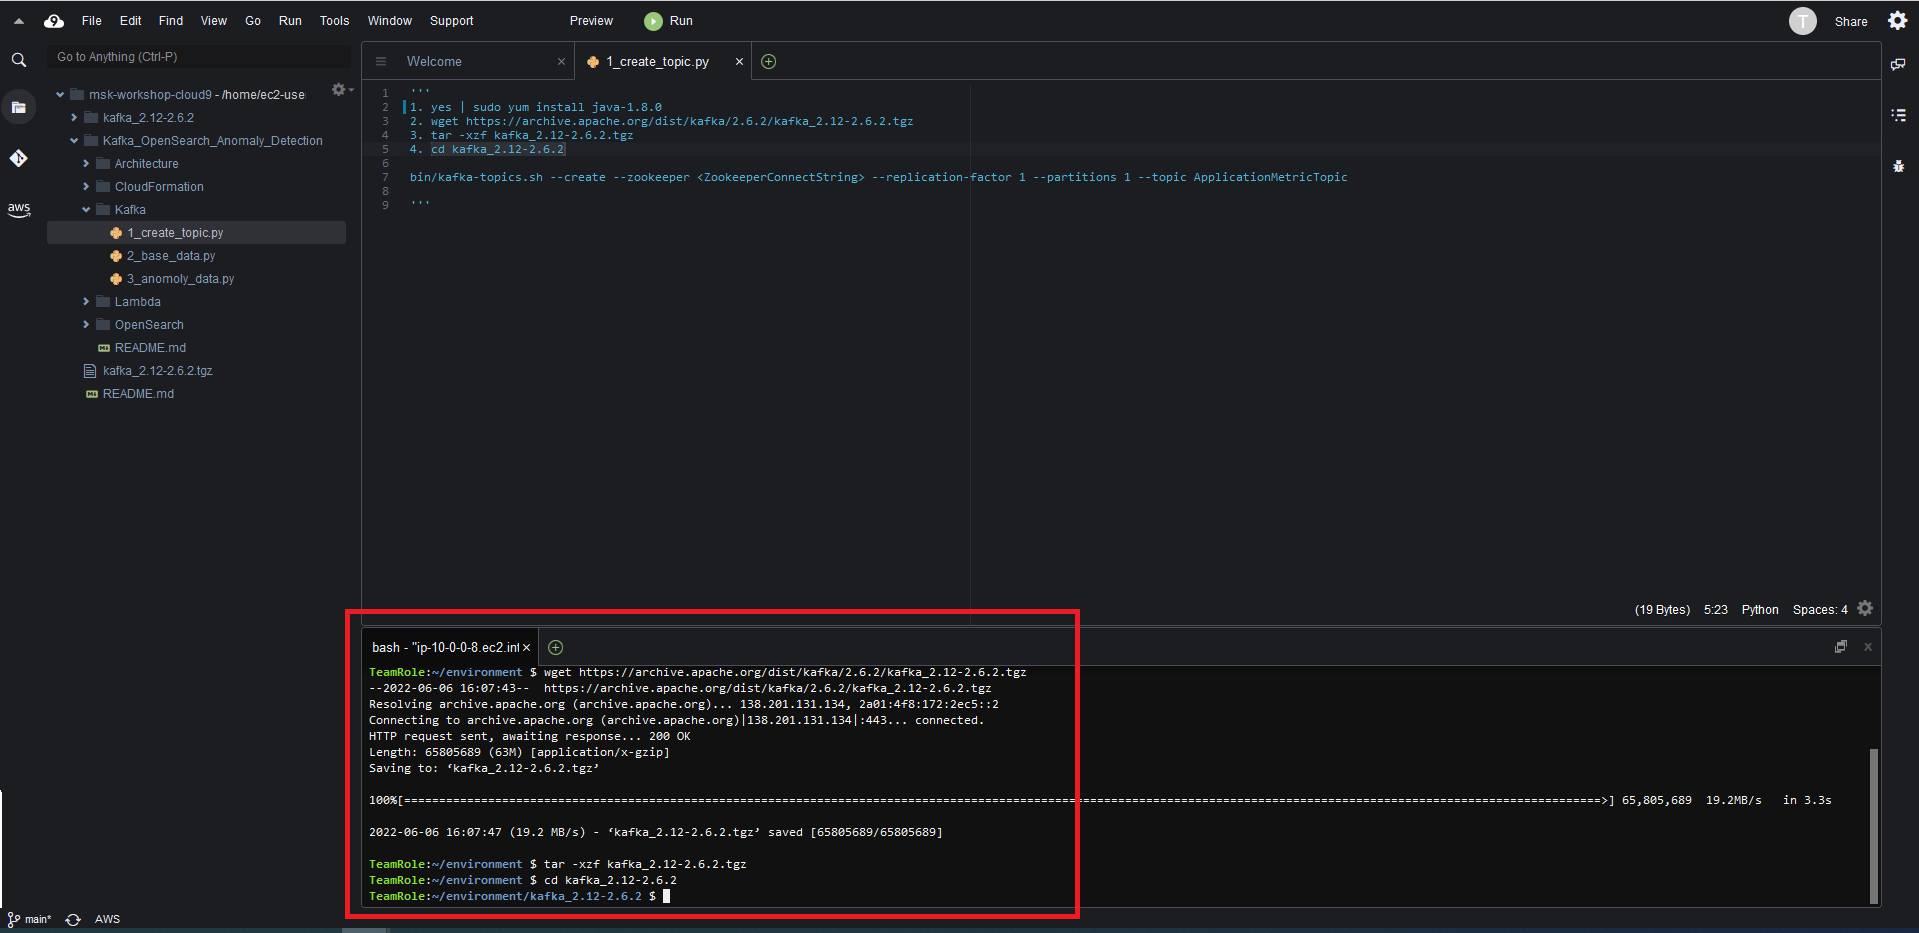
wget https://archive.apache.org/dist/kafka/2.6.2/kafka_2.12-2.6.2.tgz - Run
tar -xzf kafka_2.12-2.6.2.tgz - Run
cd kafka_2.12-2.6.2
- Update the
bin/kafka-topics.sh --create --zookeeper <ZookeeperConnectString> --replication-factor 1 --partitions 1 --topic ApplicationMetricTopicreplace the<ZookeeperConnectString>with the plaintext Apache ZooKeeper connection information you copied down on Step 4
Run the updated command in the Cloud9 terminal
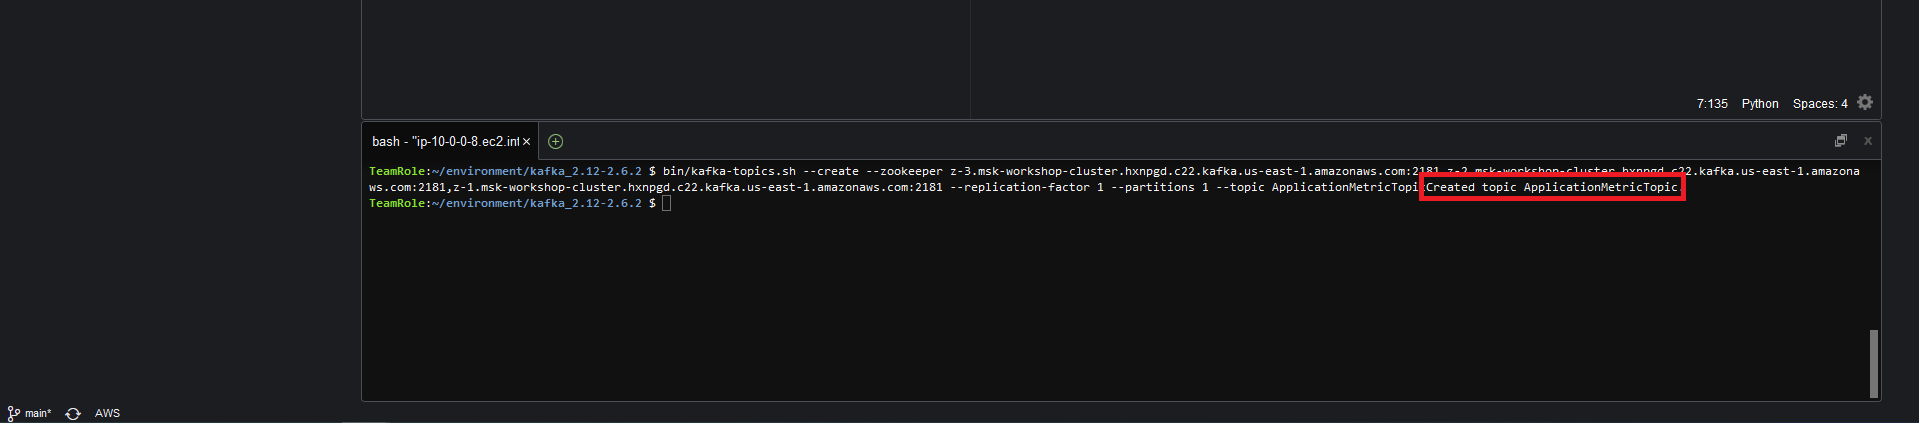
The command will return a result Created topic ApplicationMetricTopic
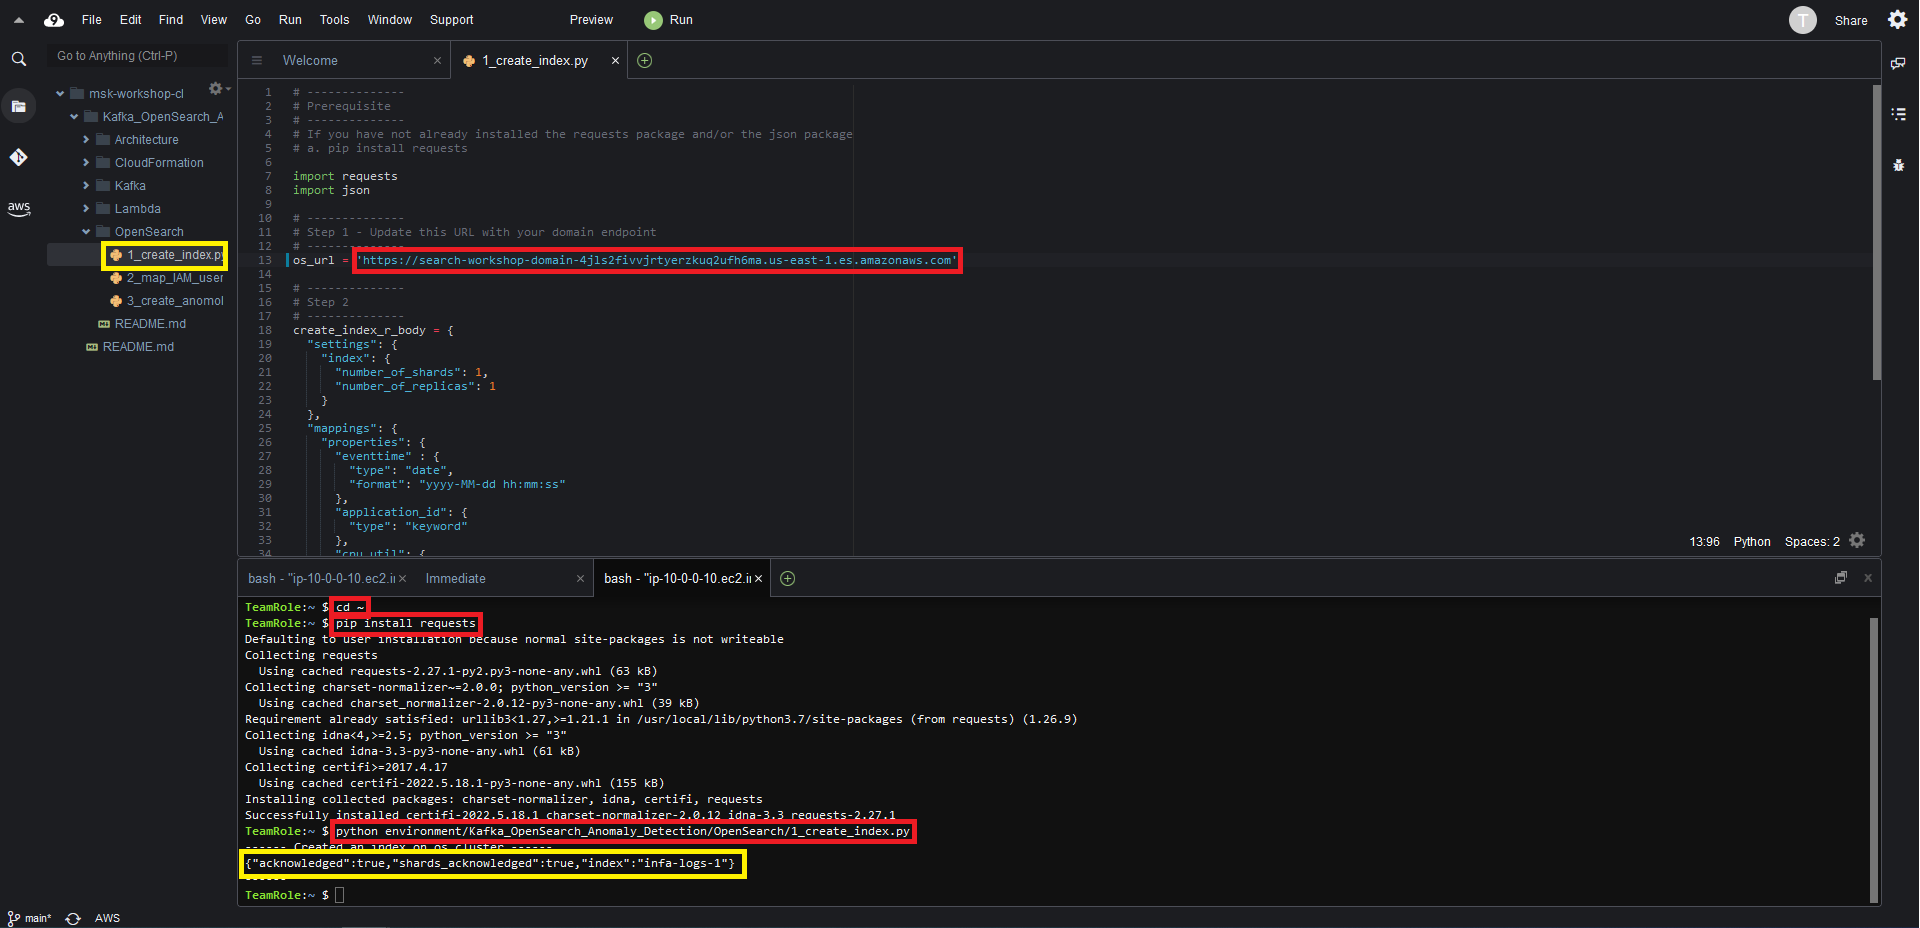
Step 4 - Create OpenSearch Index
Before we can send data to OpenSearch we need to create an index. You will run a python script from Cloud9 that will create an index in the OpenSearch domain.
If you are not already in the Cloud9 console
- Navigate to the Cloud9 in the AWS console
- Under the msk-workshop-cloud9 environment click on Open IDE
If you are already in the Cloud9 console
- In the Cloud9 environment navigate and open
Kafka_OpenSearch_Anomaly_Detection/OpenSearch/1_create_index.py - Replace the
<opensearch_domain_endpoint_url>with the value of the OSDomainURL key from the CloudFormation stack output and save the file - Run the following command on the Cloud9 terminal
cd ~ - Run the following command on the Cloud9 terminal
pip install requests - Run the python script by issuing the following command in the Cloud9 terminal
python environment/Kafka_OpenSearch_Anomaly_Detection/OpenSearch/1_create_index.py
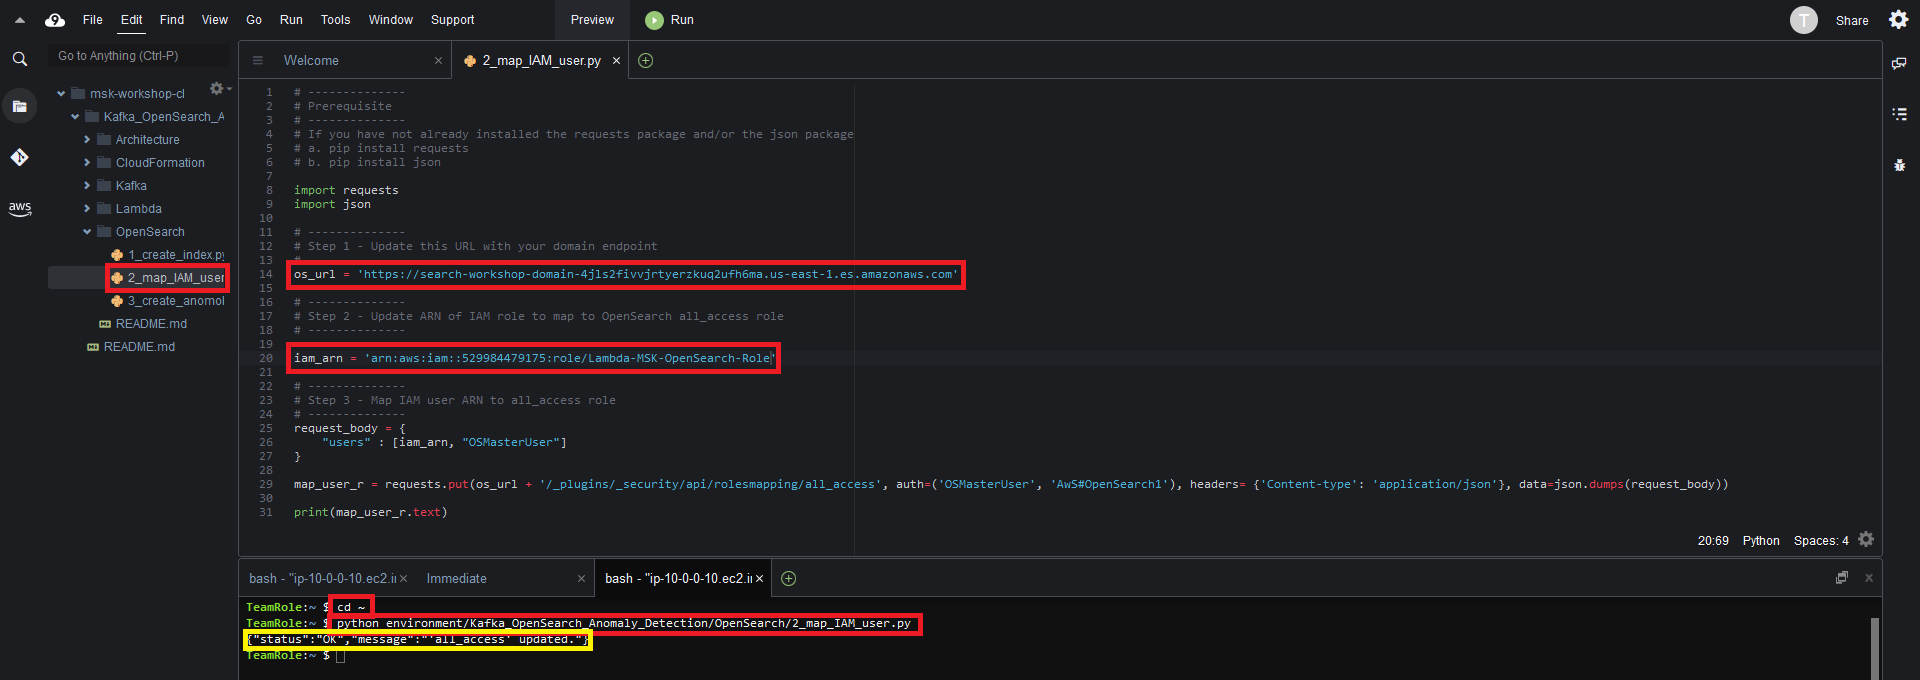
Step 5 - Map IAM Role to OpenSearch Role
Later in the lab when we upload data to OpenSearch the IAM role we will use needs access in OpenSearch. We can run a python script in Cloud9 map the IAM role to the OpenSearch role
If you are not already in the Cloud9 console
- Navigate to the Cloud9 in the AWS console
- Under the msk-workshop-cloud9 environment click on Open IDE
If you are already in the Cloud9 console
- In the Cloud9 environment navigate and open
Kafka_OpenSearch_Anomaly_Detection/OpenSearch/2_map_IAM_user.py - Replace the
<os_domain_url>with the value of the OSDomainURL key from the CloudFormation stack output - Replace the
<IAM_user/role_arn>with the value of the IAMUserARN key from the CloudFormation stack output and save the file - Run the python script by issuing the following command in the Cloud9 terminal
python environment/Kafka_OpenSearch_Anomaly_Detection/OpenSearch/2_map_IAM_user.py
Our AWS environment set up. When you are ready begin the next step Configure Lambda